To configure VPCFlowLog in Director Console, you must first obtain access key ID and secret access key from AWS.
Note
While we provide AWS-specific instructions in this guide, it’s important to be aware that the AWS interface may change over time. To ensure you have the most up-to-date information and to navigate any potential changes in the AWS interface, we recommend referring to the official AWS documentation or AWS Support resources.
Go to the AWS login page and enter your credentials. Sign in using the root account or Identity and Access Management (IAM) user credentials.
Click your username and click My Security Credentials in the drop-down.
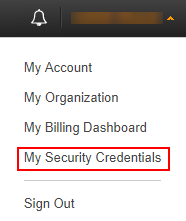
AWS Account’s Dropdown Menu
Click Continue to Security Credentials.
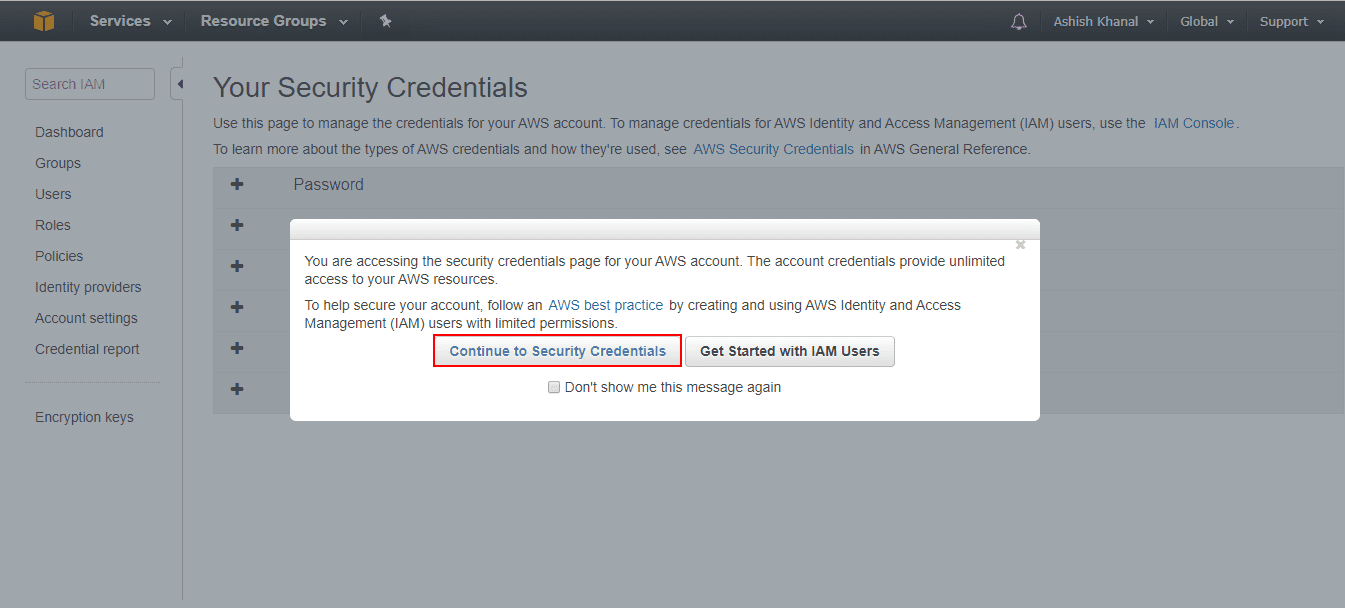
Security Credentials Confirmation
Expand the Access Keys (Access Key ID and Secret Access Key) and click Create New Access Key.
Select Show Access Key to find the access key ID and secret access key, or select Download Key File to download a CSV file containing them.
Write down the access key ID and secret access key or download the file containing them, as they can’t be retrieved later. If you close the window without saving them, create new ones.
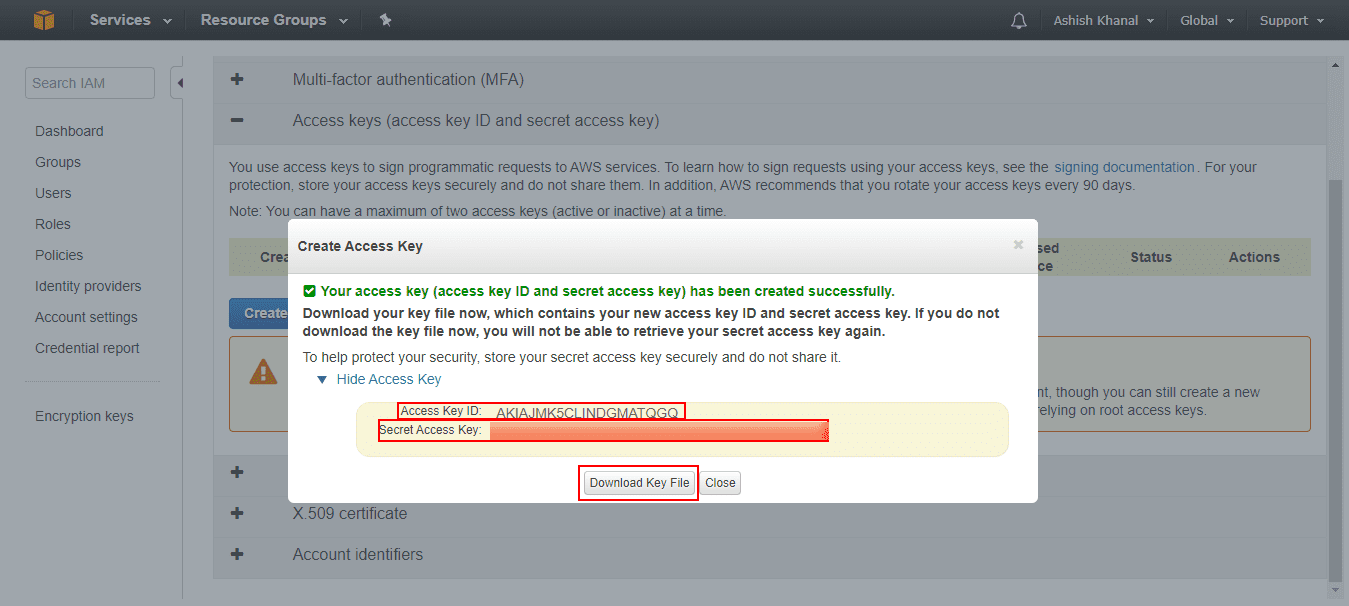
Access and Secret Keys
You can configure VPCFlowLog using the VPCFlowLog log source template, which has predefined settings and configurations to fetch AWS VPCFlowLog logs. However, some fields must be entered manually.
Click Configure in the navigation bar.
Under Entities, click LOG SOURCES.
Click Browse Log Source Templates.
Select VPCFlowLog.
Select a Pool and Logpoint to configure the fetcher.
Click Next.
In source, you can add details about the AWS VPCFlowLog for accurate identification, data formatting, and timestamping
Click Source.
Enter the Log Source’s Name.
Select the frequency at which logs is retrieved in Fetch Interval (min).
Select the Charset and Time Zone.
In connector, you can configure how VPCFlowLog and AWS VPCFlowLog communicate with each other.
Click Connector.
Enter an EndPoint URL. If you are using Amazon S3’s services, the URL is https://s3.amazonaws.com by default. If you are using a third-party service that stores logs in the Amazon S3 bucket, enter the URL of the service that you are using.
Enter the AWS Access Key ID, Secret Access Key and Bucket Name.
In Filter by Prefix, enter a prefix name to fetch a specific file or folder from the bucket. Leave this field empty to fetch the entire bucket.
Select the AWS Region.
Set the Logs From date. VPCFlowLog fetches logs from the specified date.
If you are using a Distributed Logpoint, select Distributed Collectors from the dropdown.
Select Enable Proxy to use a proxy server. A proxy connector routes data traffic through a proxy server, enabling secure and efficient communication between systems, mainly when direct connectivity is restricted or not ideal. It can be beneficial in environments where security policies require that all data traffic pass through a proxy for monitoring, logging, and access control.
8.1. Select HTTP or HTTPS protocol as required.
8.2. Enter the proxy server IP address and the PORT number.
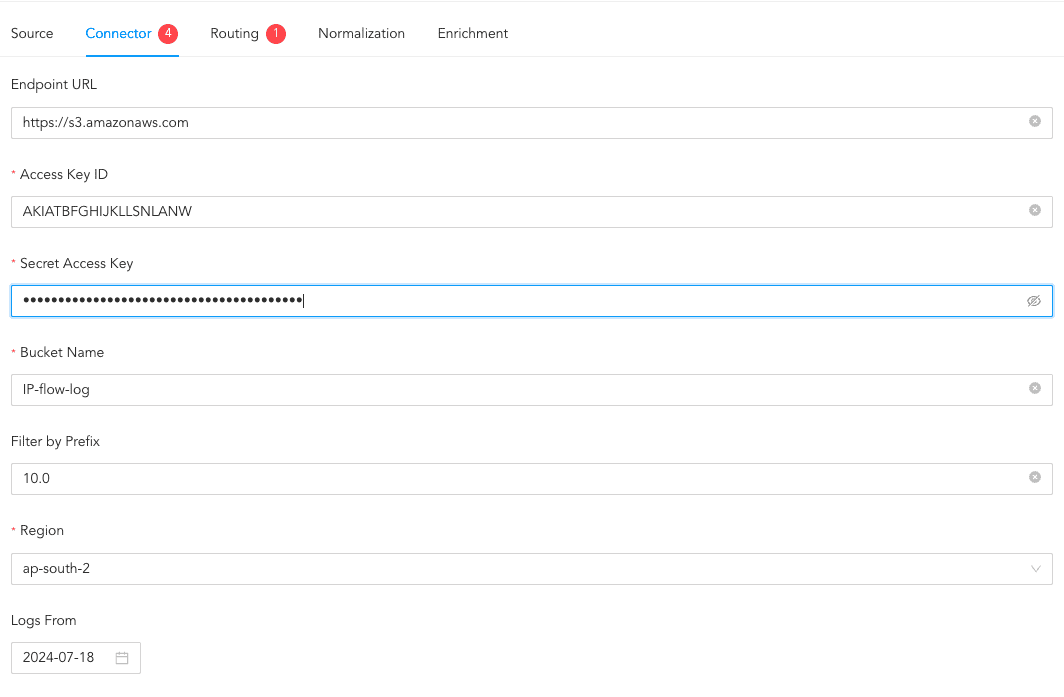
Connecting to AWS VPCFlowLog Source
In routing, you can create repos and routing criteria for the VPCFlowLog fetcher. Repos are locations where the incoming logs are stored and routing criteria is created to determine the conditions under which these logs are sent to repos.
To create a repo:
Click Routing and + Create Repo.
Enter a Repo name.
In Path, enter the location to store the incoming logs.
In Retention (Days), enter the number of days logs are kept in a repository before they are automatically deleted.
In Availability, select the Remote logpoint and Retention (Days).
Click Create Repo.
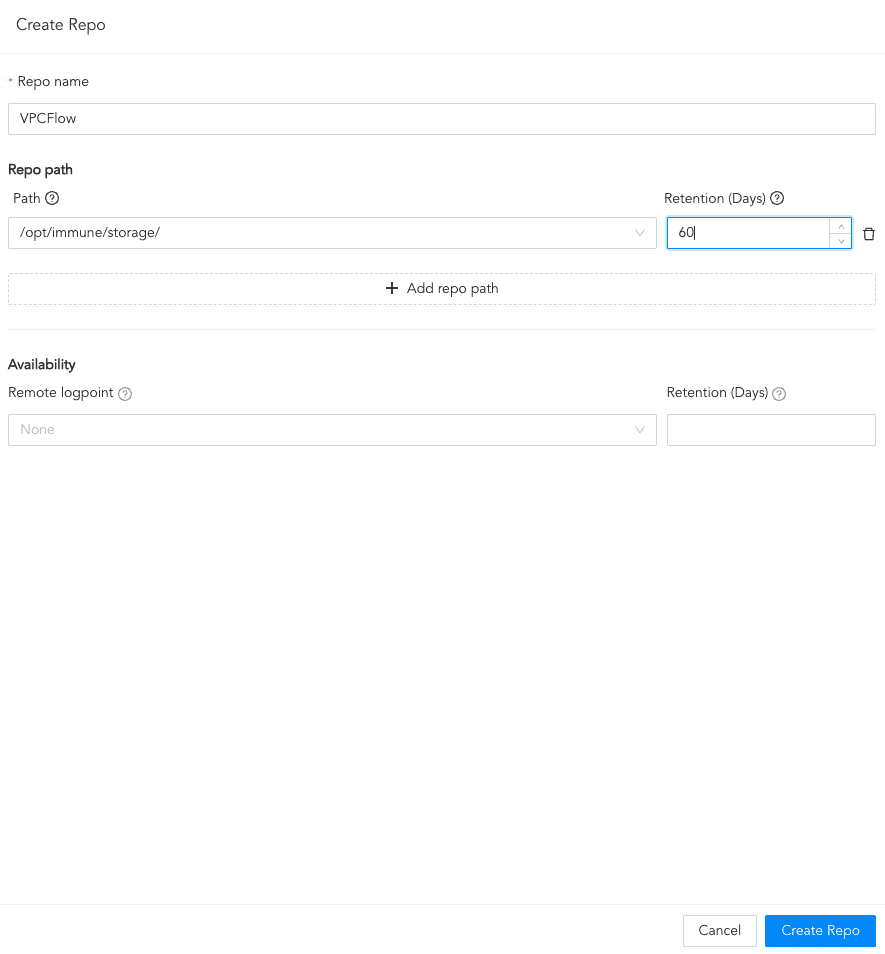
Creating a Repo
In Repo, select the created repo to store logs.
To create Routing Criteria:
Click + Add row.
Enter a Key and Value. The routing criteria is only applied to those logs which have this key-value pair.
Select an Operation for logs that have this key-value pair.
3.1. Select Store raw message to store both the incoming and the normalized logs in the selected repo.
3.2. Select Discard raw message to discard the incoming logs and store the normalized ones.
3.3. Select Discard entire event to discard both the incoming and the normalized logs.
In Repository, select a repo to store logs.
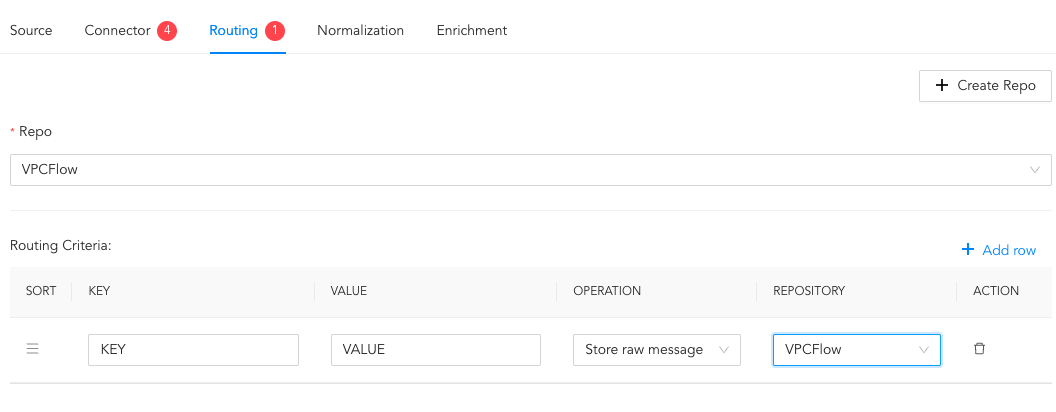
Creating a Routing Criteria
Click the ( ) icon under Action to delete the created routing criteria.
In normalization, you can select normalizers for the incoming logs. Normalizers transform the incoming logs into a standardized format for consistent and efficient analysis.
Click Normalization.
Select a normalizer from the list and click the swap( ) icon.
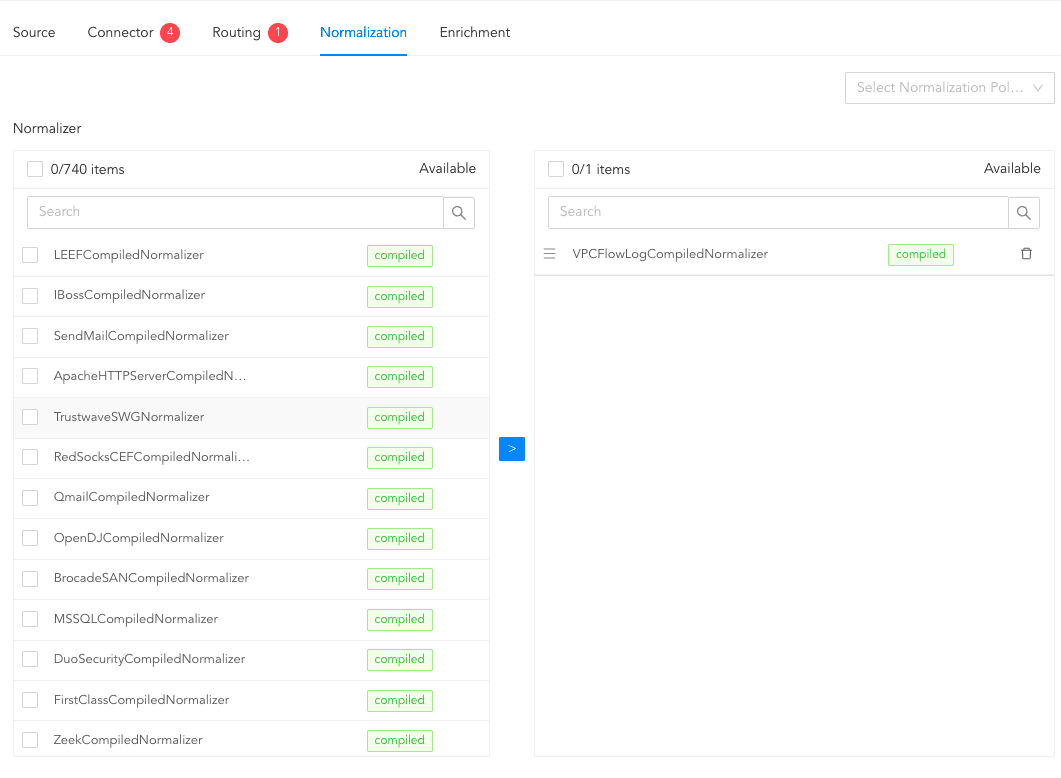
Adding Normalizers
In enrichment, you can select an enrichment policy for the incoming logs. Enrichment policies are used to add additional information to a log, such as user information, device type or geolocation.
Click Enrichment.
Select an Enrichment Policy.
Click Create Log Source to save the configurations of Source, Connector, Routing, Normalization, and Enrichment.
You are redirected to Tasks, which displays the log source setup progress.